I tried Google login from a Flutter application because Android users have Google account and it is easier for a user to make an application data backup to Google Drive. I tried to do both login and upload data to Google Drive at once but it took a while to understand what to do for the login. Therefore, this article handles only the login process.
Create a project in Google Cloud Platform
First of all, let’s create a project in Google Cloud Platform. I think you can create a project without any problems. Once a project is created, go to the credentials page.
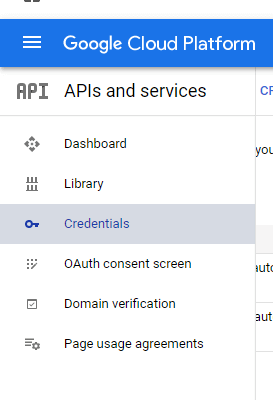
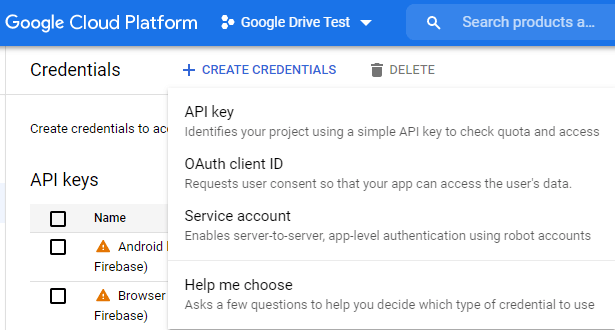
Click Create Credentials and OAuth client ID
Select Android and input necessary information.
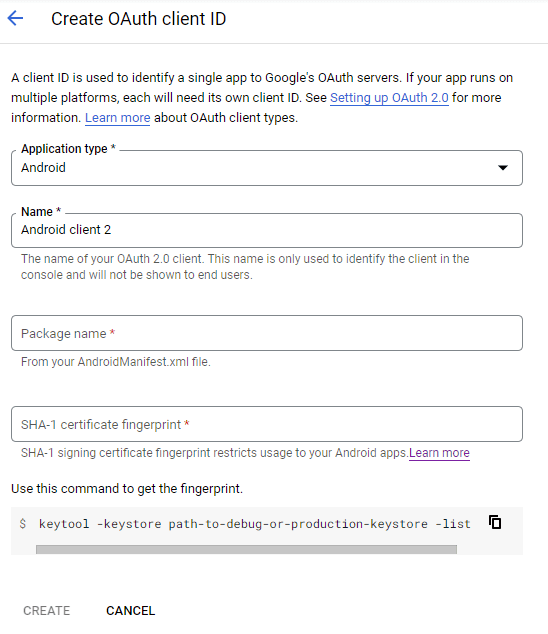
The package name must be the same as the value specified to package in android\app\src\main\AndroidManifest.xml.
<manifest xmlns:android="http://schemas.android.com/apk/res/android"
    package="com.example.flutter_samples">
Download google-services.json and place it to android\app\google-services.json.
How to create SHA-1 credentials fingerprint in VSCode
- Go to android directory
- Execute Gradle command
./gradlew signingReport
$ ./gradlew signingReport

Welcome to Gradle 6.7!

Here are the highlights of this release:
 - File system watching is ready for production use
 - Declare the version of Java your build requires
 - Java 15 support

For more details see https://docs.gradle.org/6.7/release-notes.html

Starting a Gradle Daemon, 1 incompatible and 1 stopped Daemons could not be reused, use --status for details
<-------------> 0% INITIALIZING [166ms]
> <-------------> 0% INITIALIZING [498ms]
<-------------> 0% INITIALIZING [885ms]
<-------------> 0% CONFIGURING [2s]
<-------------> 0% CONFIGURING [4s]
<-------------> 0% CONFIGURING [6s]es of :classpath
<-------------> 0% CONFIGURING [9s]
> <-------------> 0% CONFIGURING [11s]encies of classpath
<=============> 100% CONFIGURING [13s]

> Task :app:signingReport12s]
Variant: debug
Config: debug
Store: C:\Users\yuton\.android\debug.keystore
Alias: AndroidDebugKey
MD5: key for MD5
SHA1: Key for SHA1
SHA-256: Key for SHA-256
Valid until: 2048年5月23日
----------
Variant: release
Config: debug
Store: C:\Users\yuton\.android\debug.keystore
Alias: AndroidDebugKey
MD5: key for MD5
SHA1: Key for SHA1
SHA-256: Key for SHA-256
Valid until: 2048年5月23日
...
Select Scopes
We need to select the necessary scopes. In this article, we will select the following.
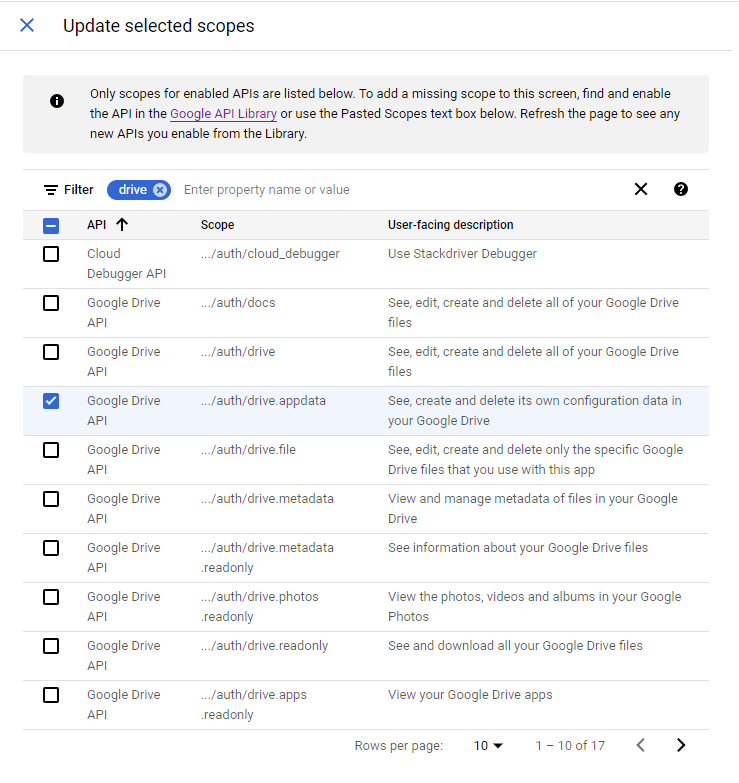
If the item is not included in your list, the API has not been enabled yet. Let’s enable the API in this case. Go to API Library page
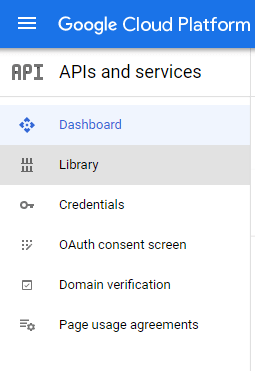
Then, click Google Drive API
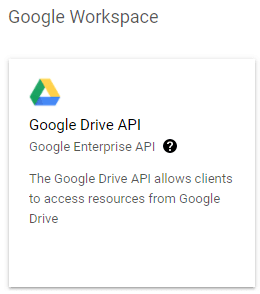
Click the ENABLE button here.

Once it’s enabled and the scopes page is reloaded, the new items are shown.
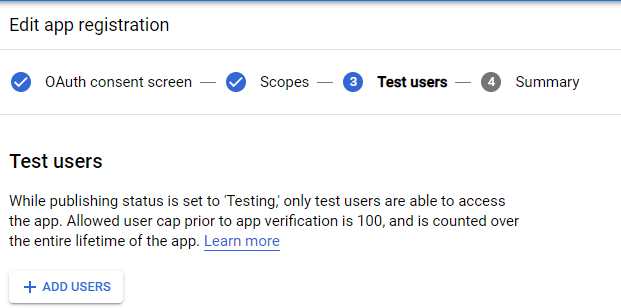
Add test users
We create a test application. Therefore, we have to add test users. If we don’t add the user here, the Flutter application keeps showing a loading icon and is frozen.
Create Firebase Project
The next step is to create a new Firebase project here. After creating a project, click Android. The menu is shown on the top page of the project.

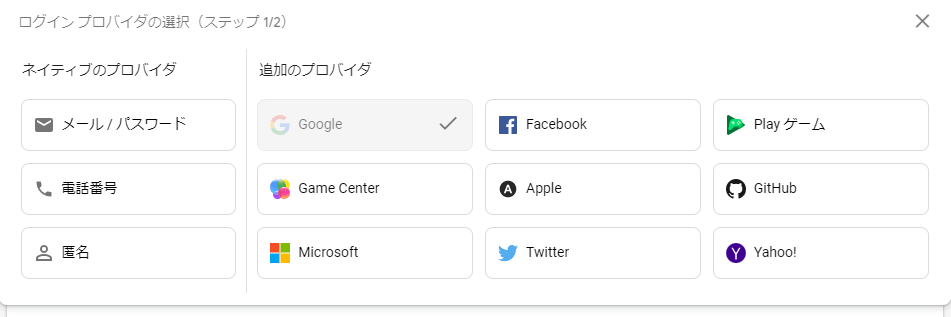
Go to the Authentication page and select Google from the sign-in method. Select others if you need them.
Implementation of Google sign-in
Add dependencies
pubspec.yaml
Add 4 dependencies into pubspec.yaml file.
dependencies:
  flutter:
    sdk: flutter
  googleapis: ^7.0.0
  google_sign_in: ^5.2.1
  firebase_auth:
  firebase_core:
Android build.gradle
android\build.gradle
dependencies {
    classpath 'com.android.tools.build:gradle:4.1.0'
    classpath "org.jetbrains.kotlin:kotlin-gradle-plugin:$kotlin_version"
    classpath 'com.google.gms:google-services:4.3.10'   // Add this
}
android\app\build.gradle
apply plugin: 'com.android.application'
apply plugin: 'kotlin-android'
apply plugin: 'com.google.gms.google-services'  // Add this

...

    defaultConfig {
        // TODO: Specify your own unique Application ID (https://developer.android.com/studio/build/application-id.html).
        applicationId "com.example.flutter_samples"
        minSdkVersion 20    // This must be 19 or later
        targetSdkVersion 30
        versionCode flutterVersionCode.toInteger()
        versionName flutterVersionName
    }

...

dependencies {
    implementation "org.jetbrains.kotlin:kotlin-stdlib-jdk7:$kotlin_version"
    implementation platform('com.google.firebase:firebase-bom:29.0.1')  // Add this
    implementation 'com.google.firebase:firebase-analytics' // Add this
}
If the minSdkVersion is smaller than 19, the following error occurs.
Launching lib\main.dart on Android SDK built for x86 in debug mode...
...\flutter_samples\android\app\src\debug\AndroidManifest.xml Error:
    uses-sdk:minSdkVersion 16 cannot be smaller than version 19 declared in library [com.google.firebase:firebase-analytics:20.0.0] ...\gradle\caches\transforms-2\files-2.1\93b0a1d9f850837cc791e1bdd9d913db\jetified-firebase-analytics-20.0.0\AndroidManifest.xml as the library might be using APIs not available in 16
    Suggestion: use a compatible library with a minSdk of at most 16,
        or increase this project's minSdk version to at least 19,
        or use tools:overrideLibrary="com.google.firebase.firebase_analytics" to force usage (may lead to runtime failures)

FAILURE: Build failed with an exception.

* What went wrong:
Execution failed for task ':app:processDebugMainManifest'.
> Manifest merger failed : uses-sdk:minSdkVersion 16 cannot be smaller than version 19 declared in library [com.google.firebase:firebase-analytics:20.0.0] ...\gradle\caches\transforms-2\files-2.1\93b0a1d9f850837cc791e1bdd9d913db\jetified-firebase-analytics-20.0.0\AndroidManifest.xml as the library might be using APIs not available in 16
      Suggestion: use a compatible library with a minSdk of at most 16,
          or increase this project's minSdk version to at least 19,
          or use tools:overrideLibrary="com.google.firebase.firebase_analytics" to force usage (may lead to runtime failures)

* Try:
Run with --stacktrace option to get the stack trace. Run with --info or --debug option to get more log output. Run with --scan to get full insights.

* Get more help at https://help.gradle.org

BUILD FAILED in 1m 53s
Exception: Gradle task assembleDebug failed with exit code 1
Exited (sigterm)
Sign-in implementation
We need to import the following 3 modules.
import 'package:googleapis/drive/v3.dart';
import 'package:google_sign_in/google_sign_in.dart';
import 'package:firebase_auth/firebase_auth.dart';
The dart implementation is simple.
Future<void> _signIn() async {
  final googleUser = await googleSignIn.signIn();

  try {
    if (googleUser != null) {
      final googleAuth = await googleUser.authentication;
      final credential = GoogleAuthProvider.credential(
        accessToken: googleAuth.accessToken,
        idToken: googleAuth.idToken,
      );
      final UserCredential loginUser =
          await FirebaseAuth.instance.signInWithCredential(credential);

      assert(loginUser.user?.uid == FirebaseAuth.instance.currentUser?.uid);
      print("Sign in");
      _loginStatus = true;
    }
  } catch (e) {
    print(e);
  }
}
We need to initialize our app once. Otherwise, the following error occurs.
No Firebase App '[DEFAULT]' has been created - call Firebase.initializeApp()
Let’s add the function call in main.
void main() async {
  WidgetsFlutterBinding.ensureInitialized();
  await Firebase.initializeApp();

  runApp(...
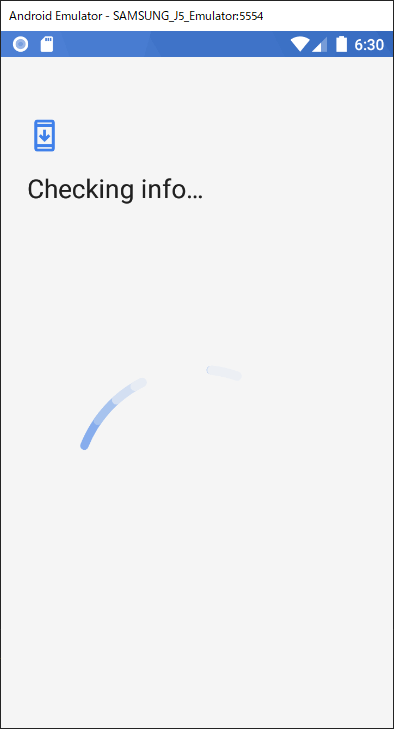
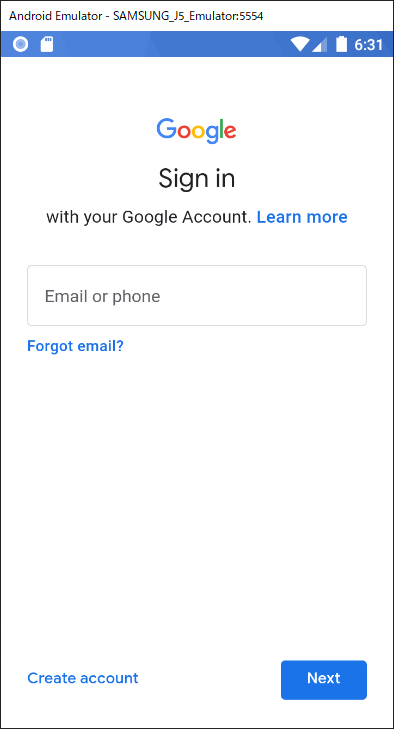
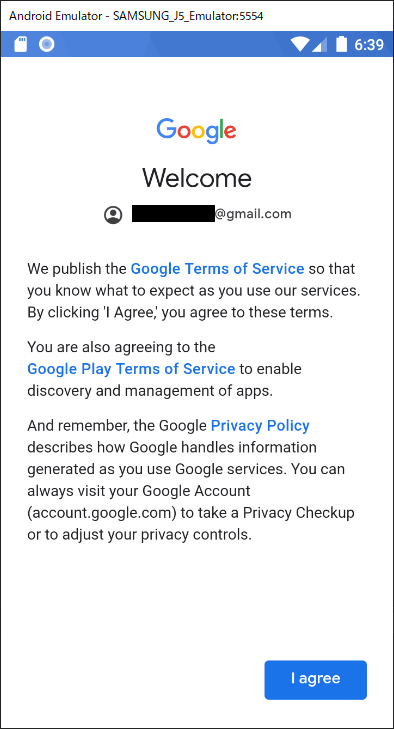
We don’t have to implement the login screen because GoogleSignIn.signIn() does it for us. The screens look like the following.
Google account is used to log in Firebase in the code above. That’s why we have two sign-in function calls. googleSignIn.signIn() function returns current user info if the session is alive. If we need another login process, it must be signed out in advance.
Sign-out implementation
Sign-out is simpler than sing-in. Make sure that we need to sign out from both Firebase and Google.
Future<void> _signOut() async {
  await FirebaseAuth.instance.signOut();
  await googleSignIn.signOut();
  _loginStatus = false;
  print("Sign out");
}
You might also want to check
A user needs to do the login process again if the app is closed and opened again. This post explains how to keep the login state.




Comments